|
Dynamic DNS Setup for Zavio IP Cameras

It is common for Internet service providers to assigns a dynamic IP address to the Internet connections they provide. This means that if your modem restarts, it is likely that the ISP will assign you a different IP address than the one that was previously assigned. Some ISPs offer upgrades to static IP addresses which means that your IP address never changes. This makes setting up remote access to IP cameras simpler because it eliminates the need to use a dynamic DNS service.
If your ISP does not offer static IP addresses or it is not cost effective to upgrade to one, there is an alternative solution to this problem which is using a dynamic DNS service, also known as DDNS and DynDNS. DDNS service allows you to choose a hostname, such as mydvr.dyndns.org that gets mapped to the IP address of your internet connection. When and if your IP address changes, the hostname will automatically point to the new IP address. So, you never have to worry about keeping track of a changing IP address.
Zavio IP cameras are integrated with the following DDNS providers. The most popular of these is Dyn and these instructions will cover the setup with them. However, the process is basically the same for all DDNS providers.
Zavio Dynamic IP Address Setup with DynDNS
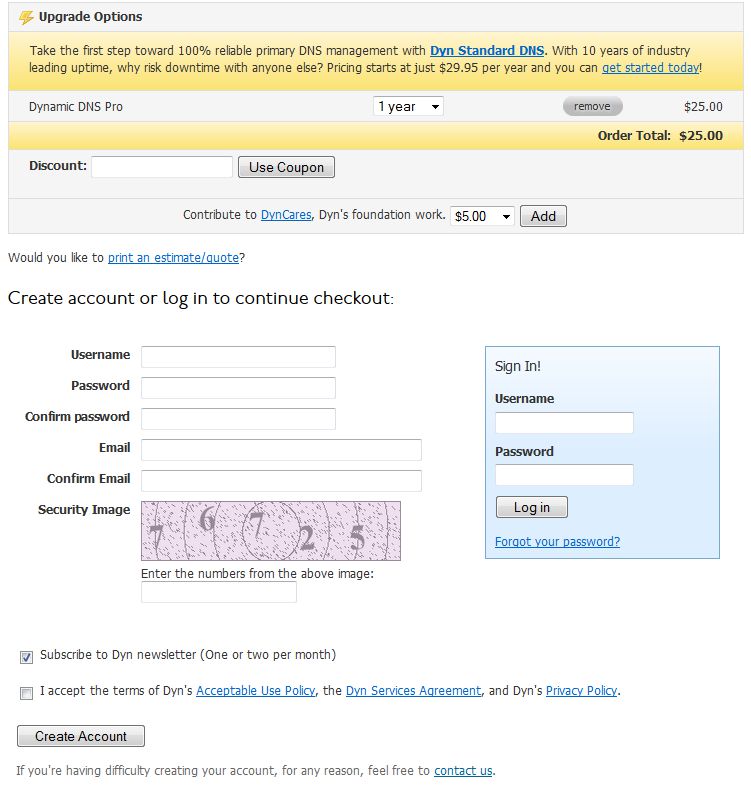
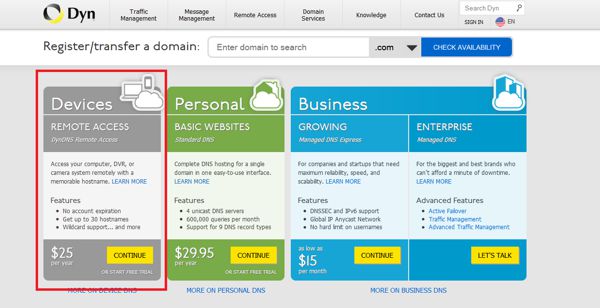
1. First, log on to DynDNS.com. You are then going to select the Devices option which at the time of this writing costs $25 per year. (Shown Below)
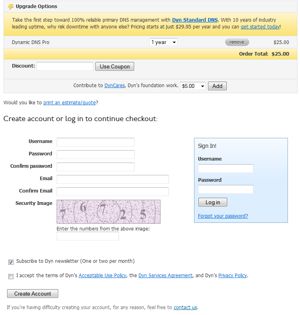
2. You will then be asked to enter your desired Username, Password, and Email. Click Create Account once completed. Once your account is fully set up, proceed to Step 3. (Shown Below. Click on the image below for a larger view.)
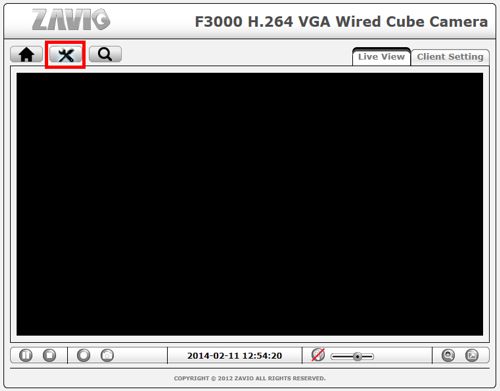
3. Now go ahead and login to your Zavio IP Camera. Then click the Setting button on the left. (Shown Below)
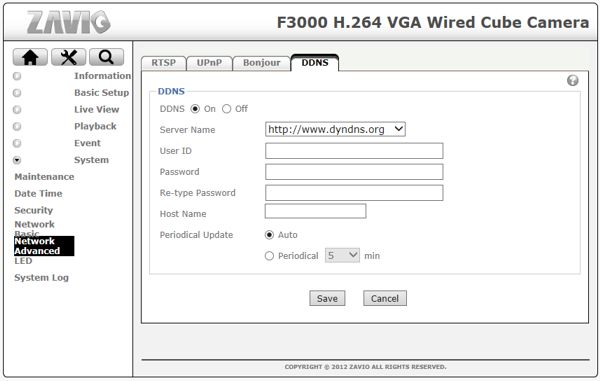
4. Then click the System tab on the left column, followed by Network Advanced. Finally, click the DDNS tab at the top. (Shown Below)
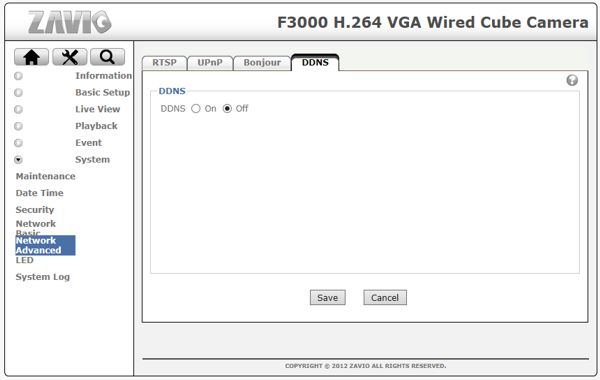
5. Now click the ON bubble. Once the menu appears, go ahead and change the Server Name to DynDNS. Then fill in the User ID, Password, Hostname that you created on DynDNS.com. Then click Save. (Shown Below)
6. Now that this is set up you will be able to access your Zavio IP Camera using the Hostname you created. So instead of using the IP Address, you will use the Hostname.
Learn more about Zavio
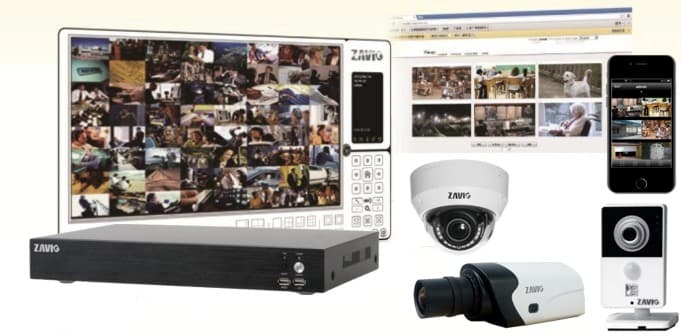
Click here to learn more about the latest Zavio NVRs. Click here to see the latest Zavio IP cameras.
Request a Demo
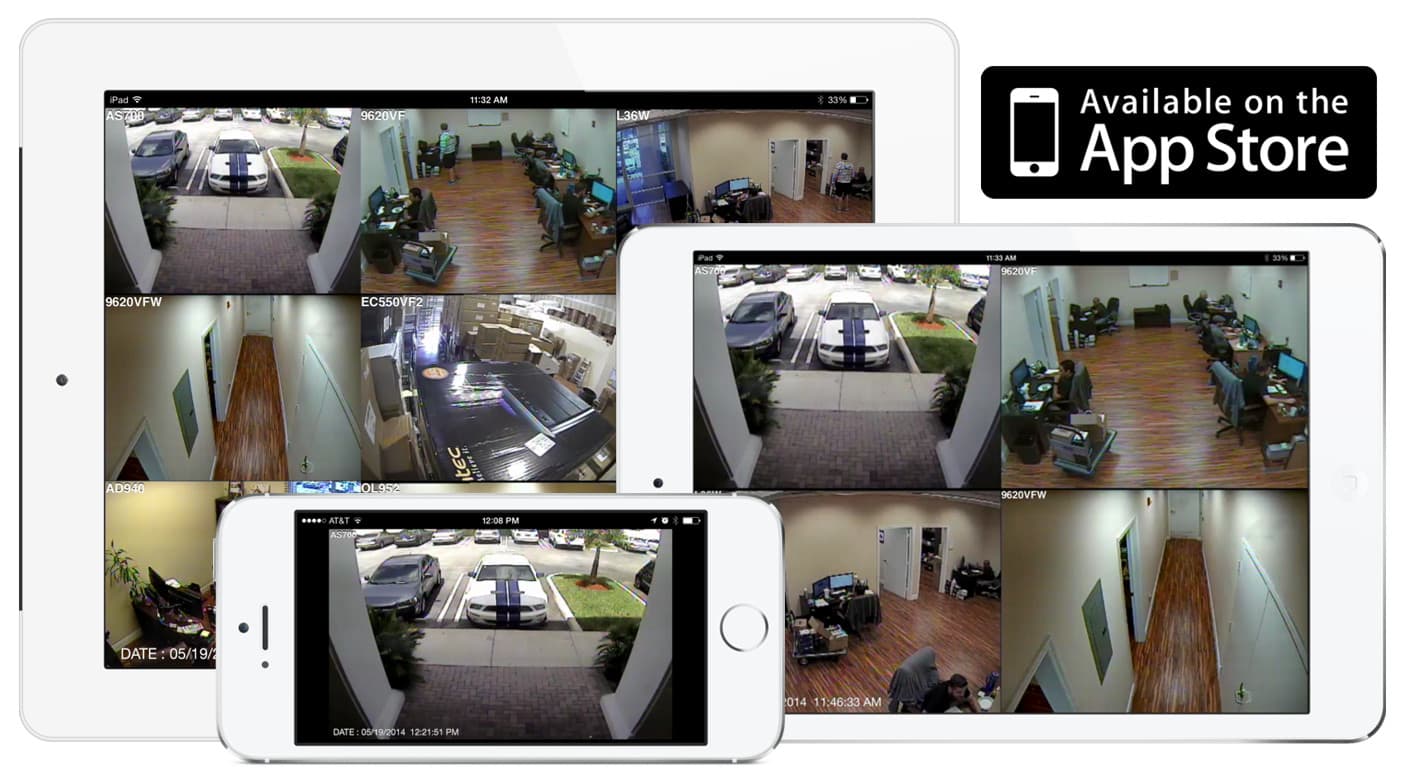
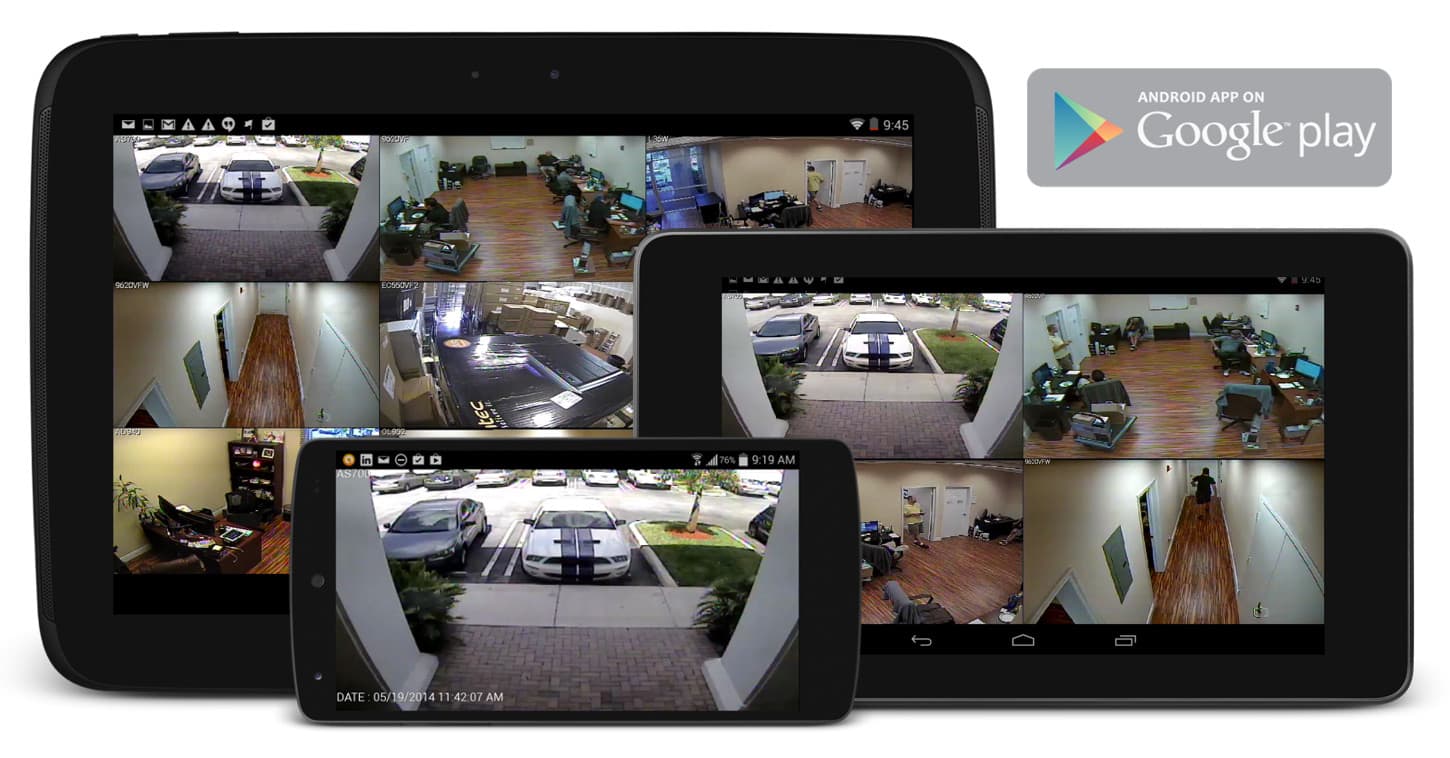
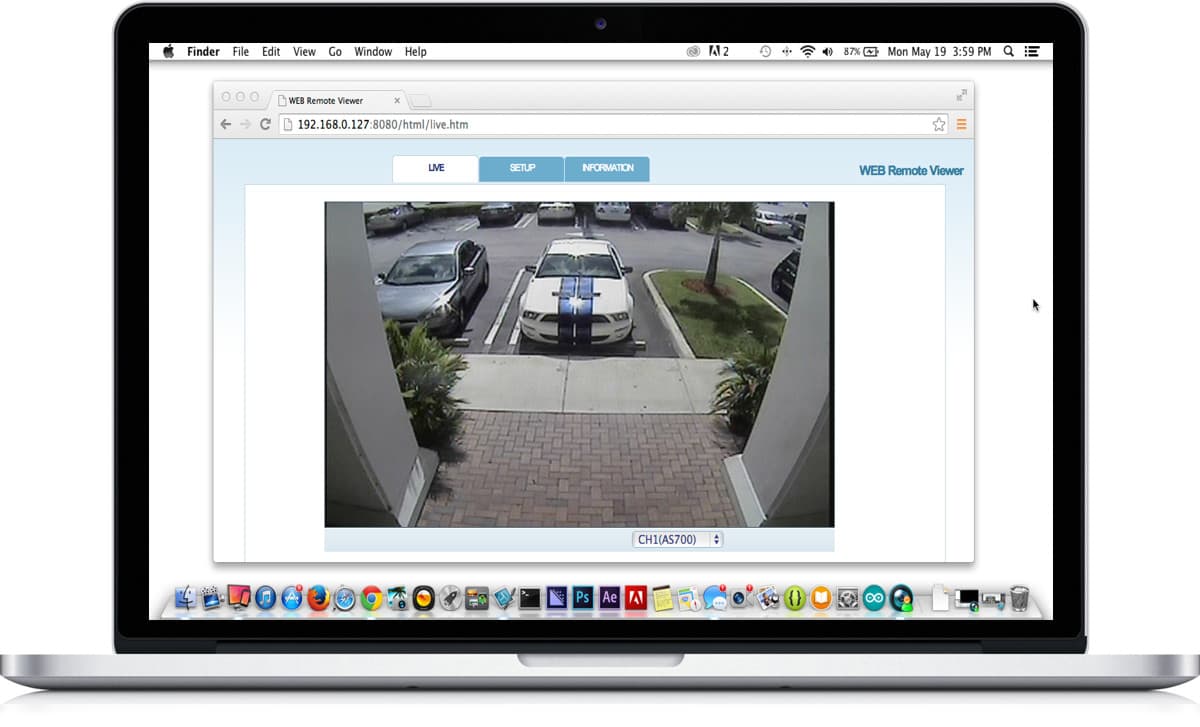
If you do not currently have a Zavio NVR and would like to log in to the demo unit at our office, please request a demo login below. You will be able to log in from iPhone, iPad, and Android mobile devices. You can also log in from Macintosh and Windows computers. Please click here to request a demo login.

Complete IP Camera Systems
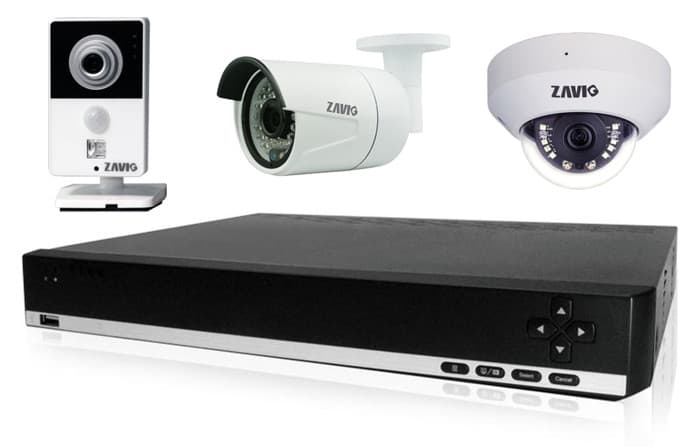
Did you know? CCTV Camera Pros can provide a complete IP camera system quote that includes a stand along Zavio NVR or a custom PC based NVR build using the 64 channel IP camera software included with all Zavio IP cameras. We can also include any number and model of cameras, CAT-5 cables, PoE switches, and monitors. Let us customize a system based on your project requirements.

About the Author

This article was written by Mike Haldas, co-founder and managing partner of CCTV Camera Pros. If you have any questions security cameras and video surveillance systems, please email me at [email protected].
|