Motion Detection Surveillance Recording Setup for iDVR
Motion detection video surveillance recording is easy to setup on iDVR CCTV DVRs. This video shows users how to configure their DVR for motion detection recording and continuous recording with motion detection.
Video Playback Instructions
For the best viewing experience, start playing the video, then select the highest video quality setting by clicking on the video settings button on the bottom of the video player.
Subscribe to our Channel
If you would like to be notified when CCTV Camera Pros creates new videos like the one on this web page, please
click to subscribe to our YouTube channel.
Video Transcript
Watch this video to learn how to set up motion detection video surveillance recording on iDVR-E, CCTV DVRs. These set-up instructions are applicable to the original analog iDVR-E DVRs as well as the new hybrid DVR models that work with traditional analog CCTV cameras as well as the new HD CCTV cameras based on AHD technology.
The first thing that needs to be done is to stop the recording on the DVR. You could do this by clicking on this red icon in the lower left and then entering the administrative password. Once the DVR stops recording, bring up the main menu and select Set Up and then Record. On the record screen, select Day, and then as this right now continuous recording is set up in the DVR but event recording is off. That F/S stands for frames per second, and the way that you turn recording on is to hire the frame rate for either event or continuous recording.
Right there, all channels are recording continuously and now all of them are continuously recording and with events, so you can do that for all cameras or individually if you want the DVR to always record but still have events bookmarked.
We're going to set it up a little bit different so I'm going to turn continuous recording on for now and then turn event recording off for channel 1, 2, and 3. Now just channel 4 is set to continuous and event, and now I'm going to channel 4 to off, so the only channel that I have set up to record on motion is channel 4.
On this screen, you could program which camera has motion that will trigger the recording for each channel and you can also trigger recording based on other events but we're not going to cover that in this video.
Next, I'm going to adjust the motion detection zone and sensitivity for the camera. On this screen, basically you can use this grid to set up the motion detection zones and then set up the motion sensitivity level. You could see when it's low there. Right now, it's not detecting much motion but when I bump it all the way up, you can see much more motion is detected and that's noted by those green lights you can use as I'm waiving. They get more intense or less intense based on how much motion is being detected.
If I select the eraser and then double-click on these squares, I'm actually removing those zones from the motion detection area so the zones that are highlighted in purple are the motion detection area. Again, you can see me waving there in the background and the motion being detected, and then when you're done, you just select apply and then you can close out that screen and then click on that red LED icon again to start recording up again.
Now, notice in a second, when I wave, you'll see that motion's going to be detected. You can see that little running man icon on camera 4. That means motion is being detected and that that camera was recording then. Actually the number 4 that's highlighted in red, that means the camera is still recording. You see it goes off right there. There's a delay. Once motion stops, the recording goes off and there I triggered it again and you can see the camera number turn red again because it's recording because motion was detected.
For more information on the latest Hybrid iDVR surveillance DVRs that work with both traditional and high definition CCTV cameras, please visit
www.iDVR.net. Thank you for watching.
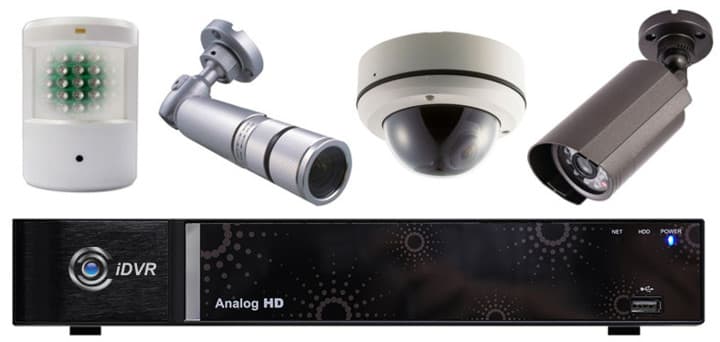
Surveillance Equipment
Below is the surveillance equipment used in the making of this video.

The iDVR-E4 Stand Alone CCTV / AHD Camera DVR is the DVR used in this video.
Video Thumbnail

Learn more about iDVR
iPhone / iPad Compatible
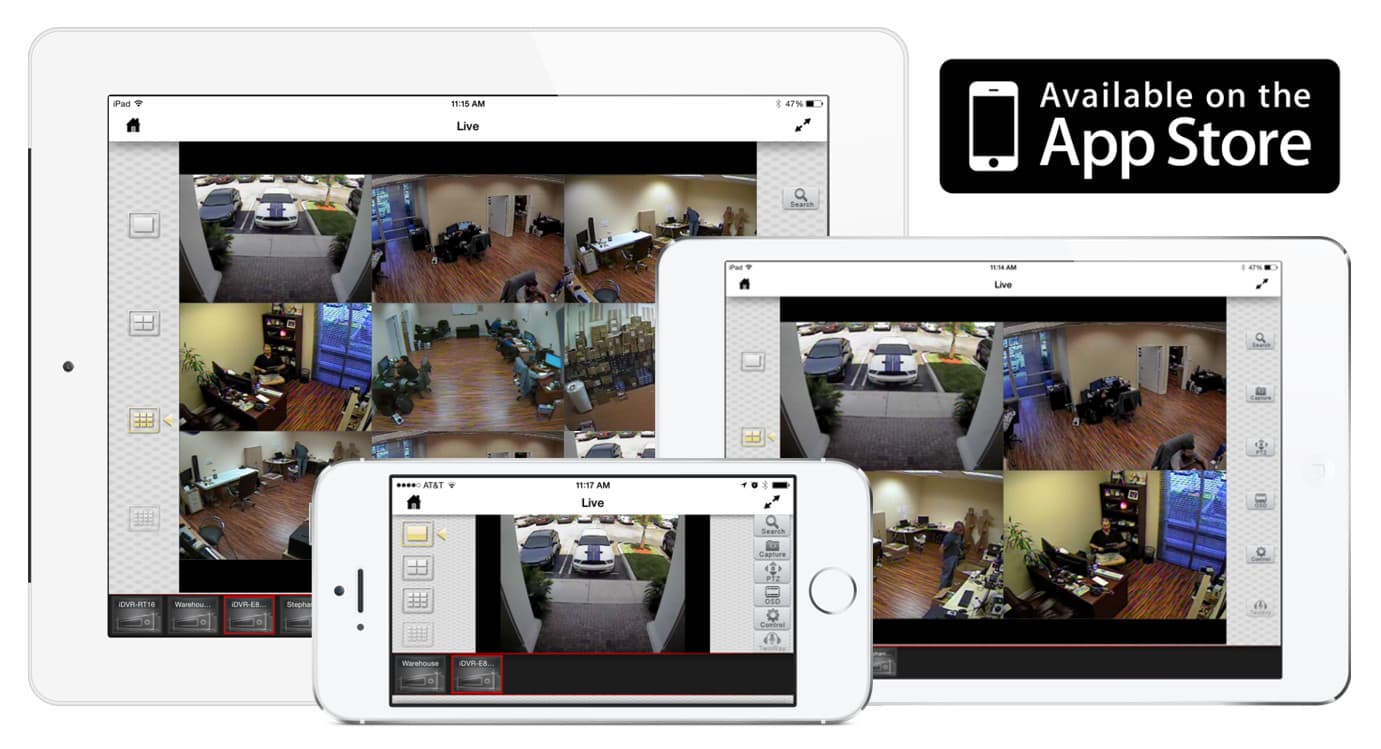
|
Android Compatible
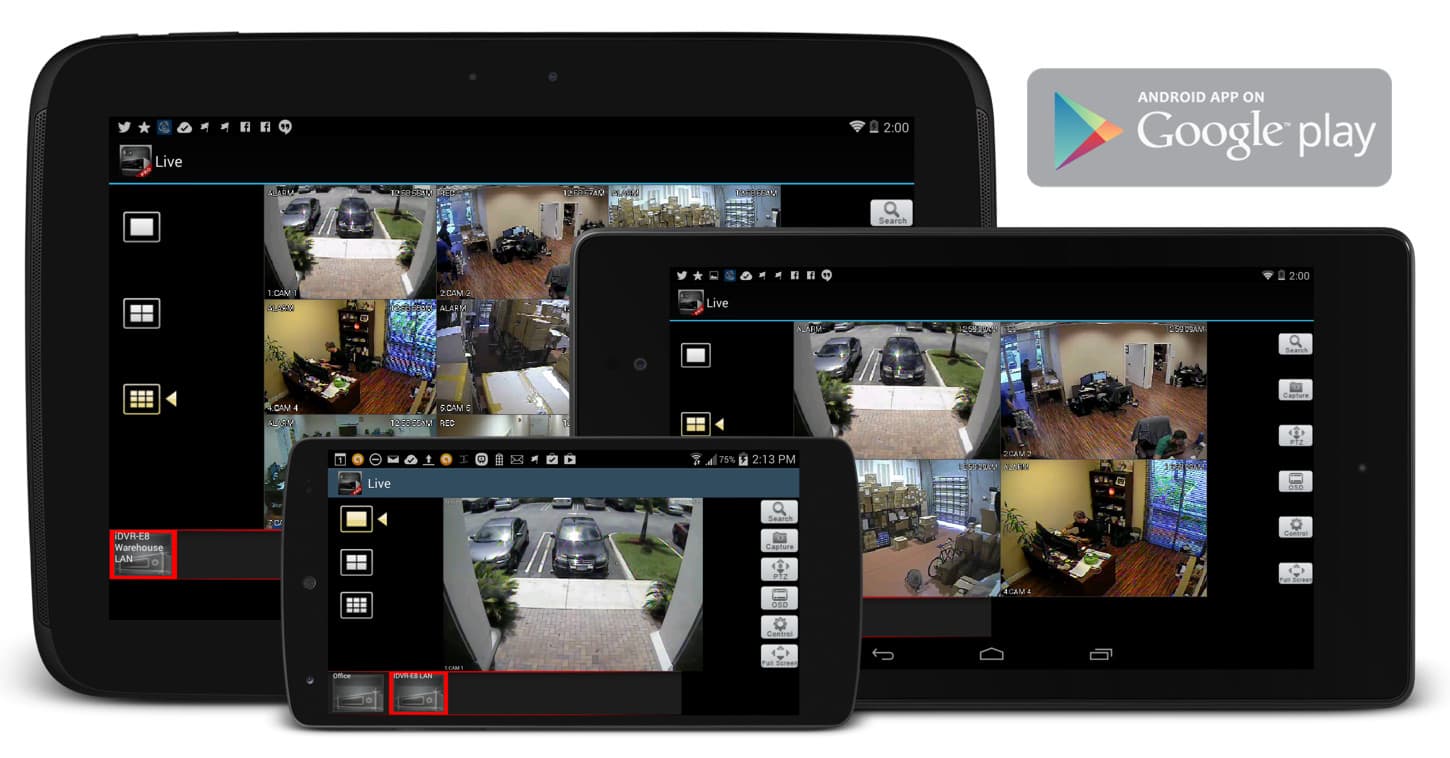
|
Mac Compatible
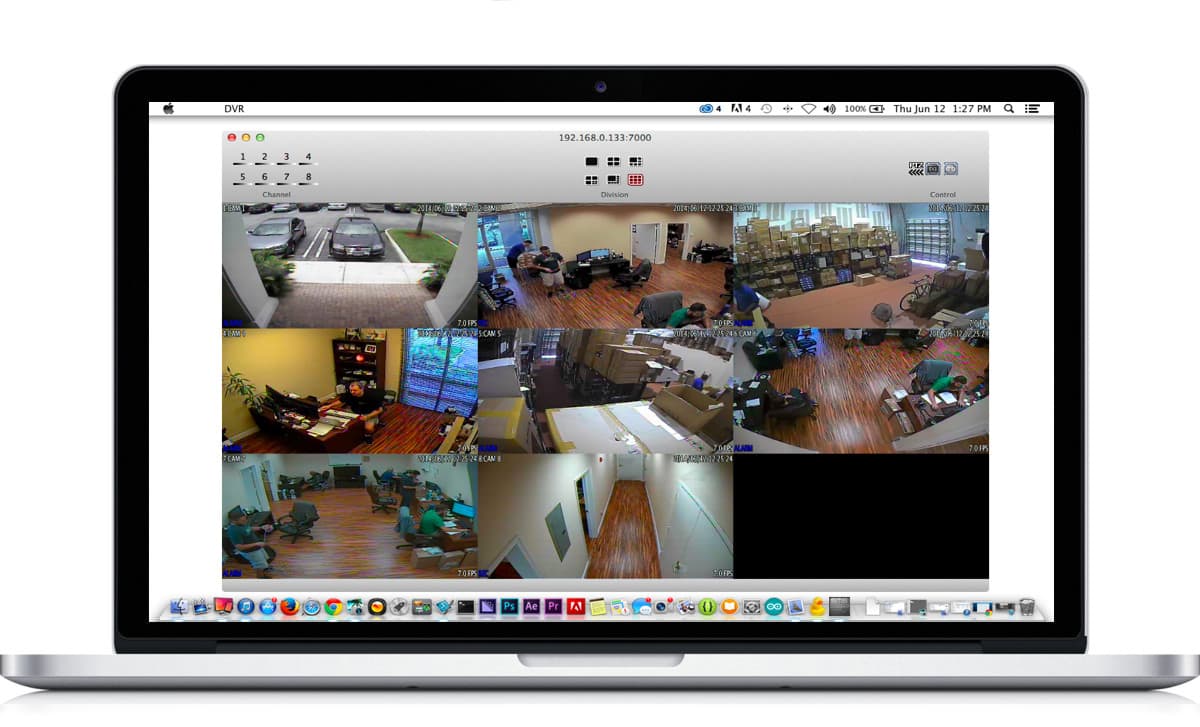
|

Click here to
learn more about the latest HD CCTV Hybrid DVRs.
Request a Demo
If you do not currently have an iDVR-PRO and would like to log in to the demo unit at our office, please request a demo login below. You will be able to login from iPhone, iPad, and Android mobile devices. You can also login from Macintosh and Windows computers. Please
click here to request a demo login.
Complete CCTV Systems
Did you know? CCTV Camera Pros can provide a complete surveillance system quote that includes a hybrid iDVR-E surveillance DVR, any number of cameras SD and
HD CCTV cameras you need plus cables, connectors, power supplies, and monitors? As you have probably already seen on our website, we have 2, 4, 8, and 16 camera surveillance systems in pre-made packages. However, it is not possible for us to package up every combination and quantity of all the different camera models that we carry. So, we can also provide you with a custom quote with as many cameras as you need and a mix of any combination of camera model(s) based on your project requirements.


|
Video Author & Producer
This video was created by and this page is maintained by
Mike Haldas, co-founder and managing partner of CCTV Camera Pros. If you have questions about setting up alarm inputs and outputs, please email me at [email protected].
|


