IP Camera Email Alert Setup for Zavio Cameras

Zavio IP cameras can send email alerts / notifications based on alarm triggers such as camera motion detection, PIR motion detection, external alarm sensors and more. This page contains a demo video and step-by-step instructions on how to setup email notifications for Zavio IP cameras. In these instructions, we will use a magnetic door sensor to trigger the alarm that sends the email alert using Gmail's SMTP server.
Watch the below video to see the email alerts in action.
Surveillance Equipment
The following surveillance equipment was used for this project.
- Zavio F3210 IP camera
- Geovision GV-Relay Switch Device
- Magnetic alarm door sensor
- Alarm siren / strobe light
- 18 AWG 2 Conductor Unsheilded Power Wire
Note: In addition to the F3210, this page show all Zavio IP cameras with digital IO ports that support external alarm input and output devices.
Also, in the email alert demonstration video, we also use the iCamViewer app for iOS to show how a user can log in to their camera from mobile after they receive a notification. The iCamViewer is a free mobile app to view IP cameras. There is also an Android version of iCamViewer available here.
Alarm Input / Output Wiring
Here is a picture of our digital IO / alarm integration panel that we use for testing at CCTV Camera Pros. The magnetic door sensor wired to the alarm input of the IP camera. The alarm output of the IP camera is connected to a Geovision GV-relay box which acts as a low voltage relay. When the GV-relay receives a signal from the Zavio camera, it closes the circuit (output) that is connected to the strobe light. The relay output is wired as NO (normally closed) so that no power is sent to the strobe light until activated. When the circuit closes as a result of the alarm, the strobe light receives power and turns on. Please note that the digital relay and strobe light has nothing to do with the email alert setup. It is ONLY the magnetic door contact that triggers the email alert. This will be explained in more detail below.

Digital IO Setup
Because we will be using the camera's digital input and digital output ports, we must configure the normal states for each of these ports to work with the email alert that we want to be triggered. If you do not have any experience with electrical circuit concepts, hopefully, this summary will help explain.
Basically, a circuit is either open or closed. Zavio uses the term "grounded" instead of closed, but it means the same thing. If a circuit is closed or grounded, power is running through it. If it is open, the circuit is not grounded, so no power can flow. For our digital input port, we are going to connect a magnetic door sensor. The door will normally be shut and the magnets will be active, so the normal position for it must be set to grounded (closed). When the door is opened, the magnetic contacts loose their connection and the circuit is now open.
We set up the normal state for the digital output port exactly the opposite. Because we want the strobe light to only be powered / activated when the door sensor is open, the normal state will be open (no power). When the door sensor triggers the relay, it closes the output of the relay, which supplies power to the strobe light / siren.
To set up the digital I/O ports on your Zavio IP camera, follow these steps.
- Select System > Digital I/O from the menu.
- Set Input 1 to grounded circuit.
- Set Output 1 to open circuit.
- Press Save when done.

Event Server Configuration
Zavio refers to this configuration as "Event Server". The event server is the service that will be called or executed as a result of the alarm / trigger that will be configured in a later step.
To configure the event server on your Zavio camera, login to the camera through a web browser then select Event > Event Server. The screen will look like this.

On our screenshot, we have already configured an event server named "GmailSMTP" as you see here. To configure a new server, click on the Add button.
This is what the Gmail SMTP server configuration looks like on our camera.

As mentioned for this setup, we used Gmail email service which worked very well. If you plan on using an SMTP server other than the one provided by Gmail, you need to get the proper SMTP setting for that particular service.
Use the following settings to use Gmail as your SMTP server.
- Server Type: SMTP
- Mail Server: smtp.gmail.com
- Server Port: 587
- Authentication: On
- SSL: Yes / Checked
- Username: Enter your complete Gmail or Google Apps email address
- Password: Your Gmail or Google apps password
- Send Mail From: This will typically be the same as your Username / Gmail email address
- Send a test mail to: if you would like to test your settings, enter an email address and push Test.
In the media settings, you can choose whether you want to send snapshot(s) or a video clip as an attachment, In this example, we will use snapshots.
- Attached Type: Select Snapshot, Video, or System Log
- Send Pre-event / post event image: You can select to send between 0 and 5 images from both before and after the event occurred. These will be sent in addition to a snapshot at the exact moment the event occurred.
- Image File Name: your file names will begin with this value
- Suffix: your image file names will end with this value
Click Save when done.
Event Configuration / Trigger Configuration
The next step is to configure the event that will trigger the server that was previously set up.
To do this, select Event > Event List.

Click on the Add button to create a new event. You can see in the screenshot above, we have already configured an event called DoorAlarm.

Populate the following fields to activate the event that will trigger the email notification from your camera.
- Name: this is used for you to identify this event in case you need to edit it in the future.
- Event: On - set to on to activate detection of this event.
- Triggered by - select how you want the event to be triggered. The following trigger types are supported (depending on camera model): digital input, audio detection, tampering detection, periodical, on boot, IR cut filter, capacity warning, network link down, IP notification, and PIR motion detection.
For these instructions, we are going to use the digital input option because we are connecting a magnetic door sensor to the digital input of the camera.

- Set min time interval between triggers: this determines how much time needs to pass to trigger another event after one has already occurred.
- Digital Input 1: in this field, select if the event should be triggered based on the digital input being active, inactive, or upon change. Note: because we are using a door sensor that is normally closed and we configured the normal state to be that way when the door sensor opens, it is considered active, so we will choose active for these instructions.
- In the Action section of the setup screen, check the Send Image checkbox field.
- Check the name of the SMTP server that you already set up.
- Send Mail To: fill in the email address that you want the camera to send a notification to.
- Subject: fill in the subject of the email
- Message: fill in the body of the message that you want to be sent.
This part of the setup is optional. In our test, we also enabled the digital output of the camera which was connected to a strobe light and also set up the camera to play the built-in siren audio clip when the event / alarm is triggered. THIS HAS NOTHING to do with the email notification setup. We enabled these actions as part of the event set up to show how multiple actions can be triggered via a single event configuration. If you want to enable the digital output on your camera and/or want an audio alarm to play, please follow steps 11 and 12. Otherwise, press the Save button.
- Check the Activate Digital Output box and select the Continuously active while event triggered radio button. This will enable the digital output, and in turn the strobe light, for as long as the door contact is opened.
- Check the Audio Clip checkbox if you also want your camera to play an audio alarm.
- Press Save when done.
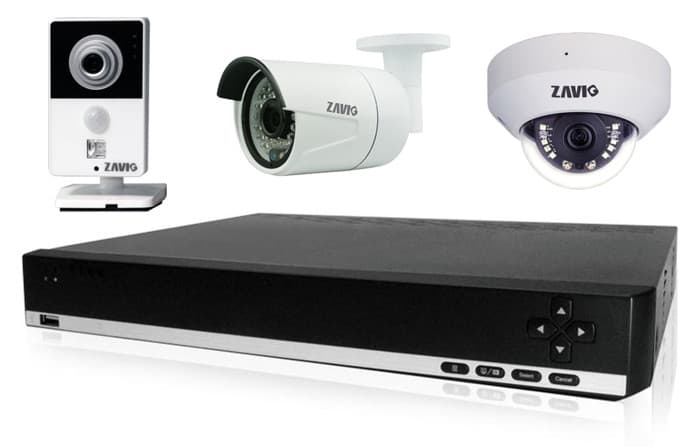
Learn more about Zavio
Click here to learn more about the latest Zavio NVRs. Click here to see the latest Zavio IP cameras.
Request a Demo
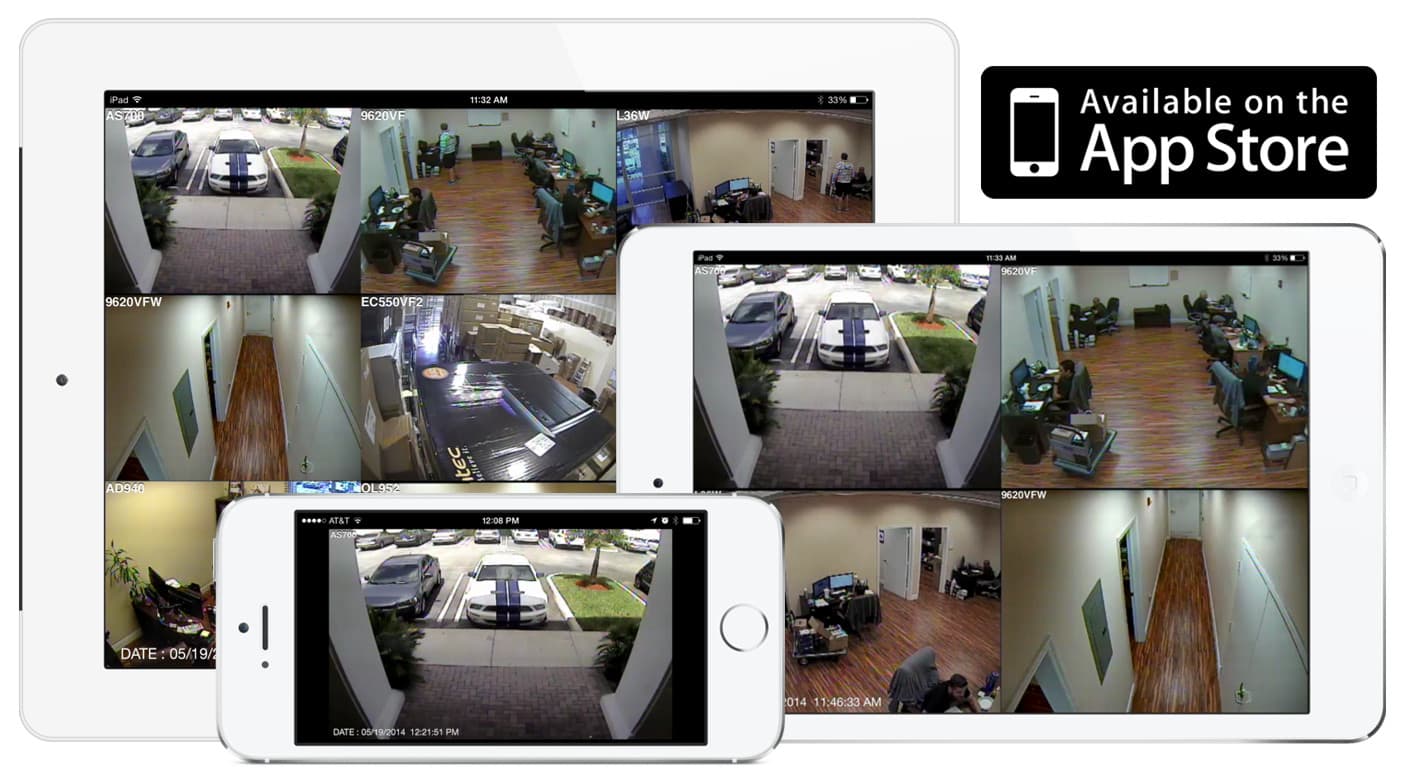
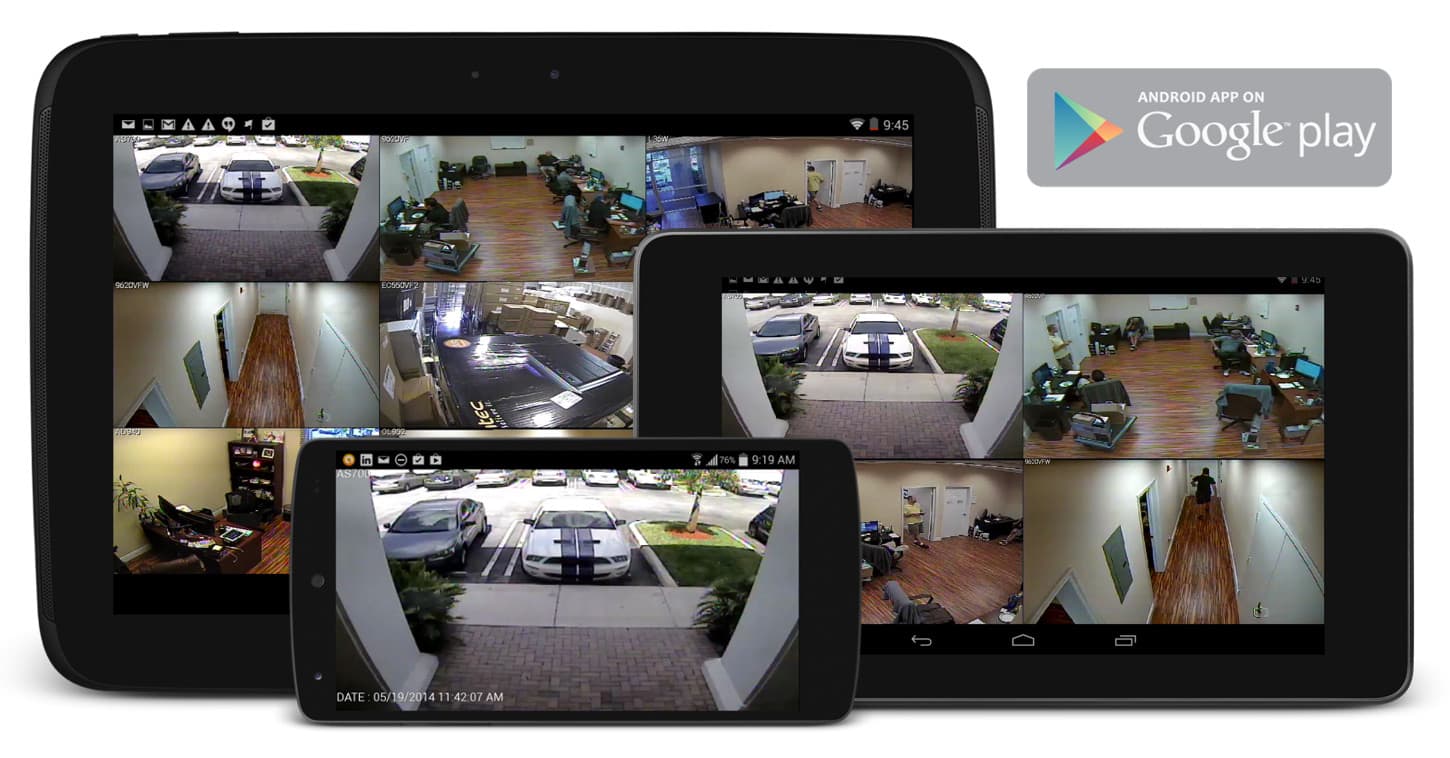
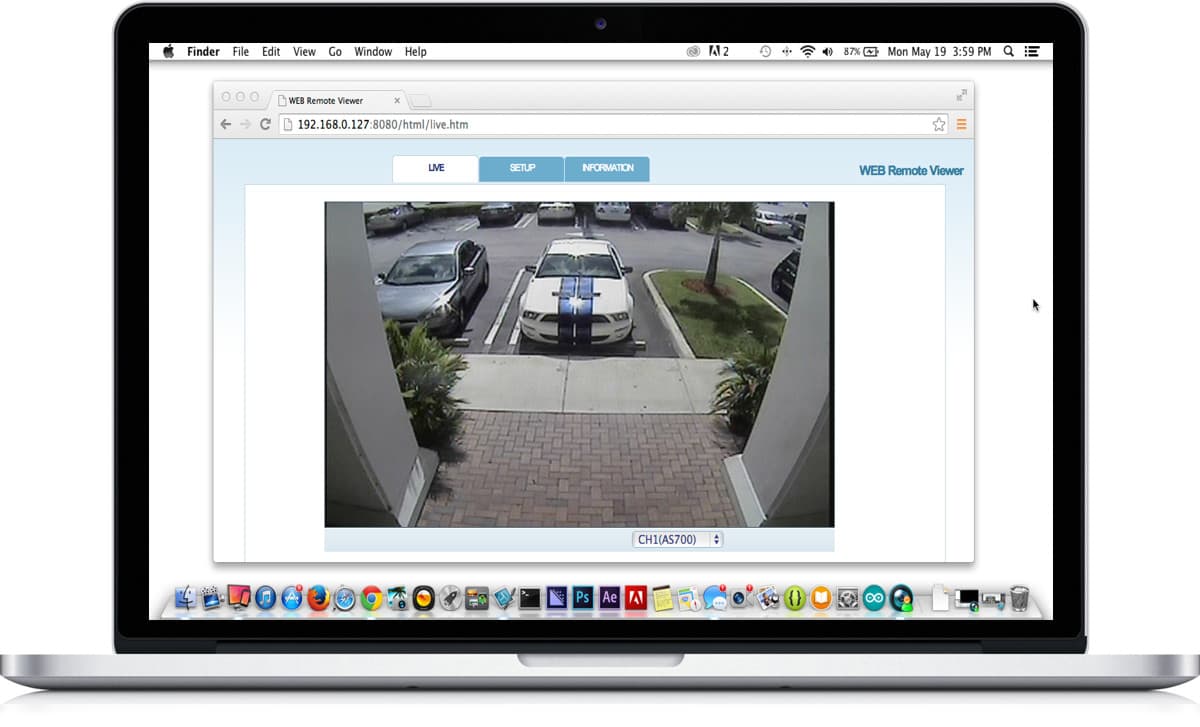
If you do not currently have a Zavio NVR and would like to log in to the demo unit at our office, please request a demo login below. You will be able to log in from iPhone, iPad, and Android mobile devices. You can also log in from Macintosh and Windows computers. Please click here to request a demo login.

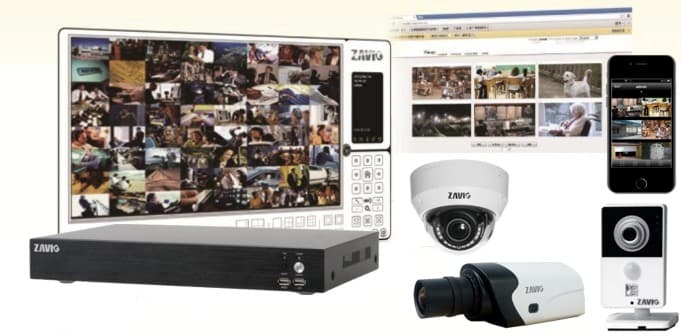
Complete IP Camera Systems
Did you know? CCTV Camera Pros can provide a complete IP camera system quote that includes a stand along Zavio NVR or a custom PC based NVR build using the 64 channel IP camera software included with all Zavio IP cameras. We can also include any number and model of cameras, CAT-5 cables, PoE switches, and monitors. Let us customize a system based on your project requirements.

About the Author

This article was written by Mike Haldas, co-founder and managing partner of CCTV Camera Pros. If you have any questions security cameras and video surveillance systems, please email me at [email protected].
|