|
 Nuuo Main Console Remote Access (Non IE) Nuuo Main Console Remote Access (Non IE)
The instructions in this article cover the process of accessing the Nuuo Main Console DVR / NVR remotely using the Nuuo Remote Live Viewer client software. The Remote Live Viewer has an interface very similar to that of the Main Console, thus making it easy to interchange between the two.
1. The first step is to ensure that the correct ports are forwarded in the router connected to the Nuuo Main Console PC. Then enable the correct network settings within the Nuuo Main Console interface. If you have not done this, please visit our Nuuo Main Console Network Setup article.
2. Once you have all the network settings configured, go ahead and launch the Nuuo Remote Live Viewer application on your desktop. To do this go to Start > All Programs > Nuuo Surveillance System > Remote Live Viewer. (Shown Below) 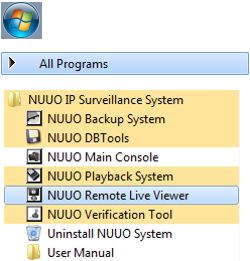
3. Then on the main screen of Remote Live Viewer, click the General Setting icon followed by Setting. (Shown Below) 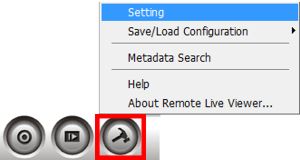
4. Now under the Server tab enter the Server Name, Remote IP Address, Port 5150, Username, and Password of your Nuuo Main Console DVR / NVR. Then click Add followed by OK to save the settings. (Shown Below)

5. On the right column, select the DVR you wish to view. Then click the Connect button. (Shown Below) 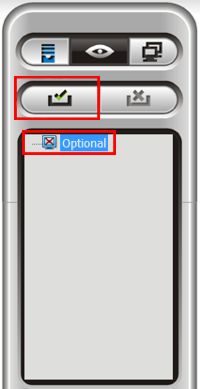
6. Enter the Username and Password of your Nuuo DVR, then click OK. (Shown Below) 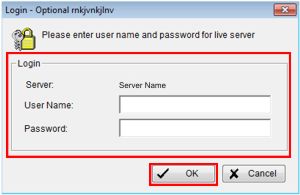
7. You will now have remote access to your Nuuo Main console DVR / NVR through the Remote Live Viewer application.
|


