HD CCTV DVR Setup
Getting started guide for iDVR-PRO analog CCTV / HD security camera DVRs.
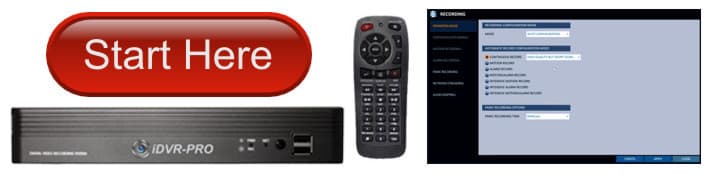
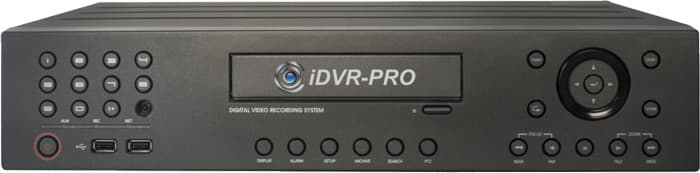
These are the initial setup steps that CCTV Camera Pros recommend that customers follow for iDVR-PRO HD-CCTV DVRs. These instructions were written for the new
hybrid iDVR-PRO DVRs which support CCTV, HD-TVI, and AHD cameras. This article covers the initial configuration setup that is recommended before getting into any other advanced setup of your new CCTV DVR.
Setup Topics
Here are the setup topics that are covered in this article in the order they should be performed.
After you unpack your new DVR, locate the power supply and USB mouse that is included. Connect the mouse to the USB port on the front or back of the DVR. The USB mouse is the easiest way to navigate the user interface of the DVR. You can also use the IR remote control if you prefer. Please note that a wireless remote is not included with iDVR-PROA models.
Next, connect a monitor to your DVR. Even if you do not plan on keeping a monitor connected to your DVR because you will manage your DVR over your network, the initial setup still requires a monitor to be connected.
Supported Monitors
Please note that all iDVR-PROs models have an HDMI and VGA monitor ports. YOU MUST use a widescreen format HD monitor that supports one of the following video resolutions.
- 1920 x 1080
- 1280 x 720
- 1280 x 1024
1080p resolution (1920 x 1080) is recommended for the best experience.
Connect the power supply included with your DVR to the power input on the back of the DVR, then to a power source (wall outlet). The DVR will boot up.
If you are using any new cameras with your iDVR, we highly recommend bench testing them before you mount them. What does bench testing mean? It simply means that you connect each camera to a power supply and monitor before you mount them. This can be accomplished by connecting each camera to your DVR and viewing them on the monitor that you connected to your DVR.
Testing your cameras before installation has the following benefits.
Confirm all cameras are working properly before mounting them.
Opportunity to also test all of your cables if you are using premade CCTV cables.
Configure video inputs on DVR for CCTV. AHD, or HD-TVI type cameras (details below).
If any of your cameras use an OSD or varifocal lens, it gives you the opportunity to get familiar with these operations, which is much easier to do on the ground rather than up on a ladder.
Using Pre-made Cables to Wire Your System

If you are using pre-made cables to install your system, we have a complete premade Siamese cable wiring guide that you can find here. Please reference it to see many examples of how pre-made cables can be used to wire analog CCTV and HD CCTV cameras. It is a great reference - especially if this is your first installation.
Using RG59 Cable Spools to Wire Your System

If you are using spools of RG59 Siamese cable to install your system, we have a complete RG59 Siamese cable wiring guide that you can find here. Please reference it to see how-to use RG59 coax cable to wire an iDVR-PRO system with analog CCTV and HD security cameras - with individual power supplies or a power supply box. It is a great reference - especially if this is your first installation.
Watch this video to learn how easy it is to navigate the iDVR-PRO using the USB mouse that is included. This is a great video to get familiar with how to navigate the user interface.
It is important to set up the time, date, and timezone of your DVR before you begin recording operations. Otherwise, you will be unable to figure out the true time that an event occurred. Follow these steps to set up the time and date on your DVR.
- Using the USB mouse, click on the menu button and select System Setup.
- From the System menu, select Time / Date.
- On the time / date setup screen, select your correct time, date, and time zone.
- You can also choose to have your DVR's time and date automatically synchronized with an online time service.
- When you are done, click Apply, then Close.
iDVR-PRO hybrid surveillance DVRs support analog CCTV and HD-over-Coax cameras (AHD and HD-TVI formats supported). Each channel of an iDVR-PRO can be configured to use any of those camera types.
Watch this video to see how to specify CCTV, AHD, and HD-TVI camera types for each channel of your DVR. Important Update! The latest
iDVR-PRO surveillance DVRs now automatically detect the video format of each camera. The newest models no longer need to be manually configured as the video explains.
iDVR-PRO surveillance DVRs support the following video recording modes.
- Continuous Recording
- Scheduled Recording
- Motion Detection
- Alarm Triggered
- Panic Recording
- Intensive Motion / Alarm Recording
Watch this video to see how to set up recording on your DVR.
Additional Setup
This article is our recommended starting point to set up a new iDVR-PRO surveillance DVR. There are many additional configuration options that the iDVR-PRO is capable of. Please refer to these pages for more support and setup information related to iDVR-E DVRs.
Learn more about iDVR-PRO
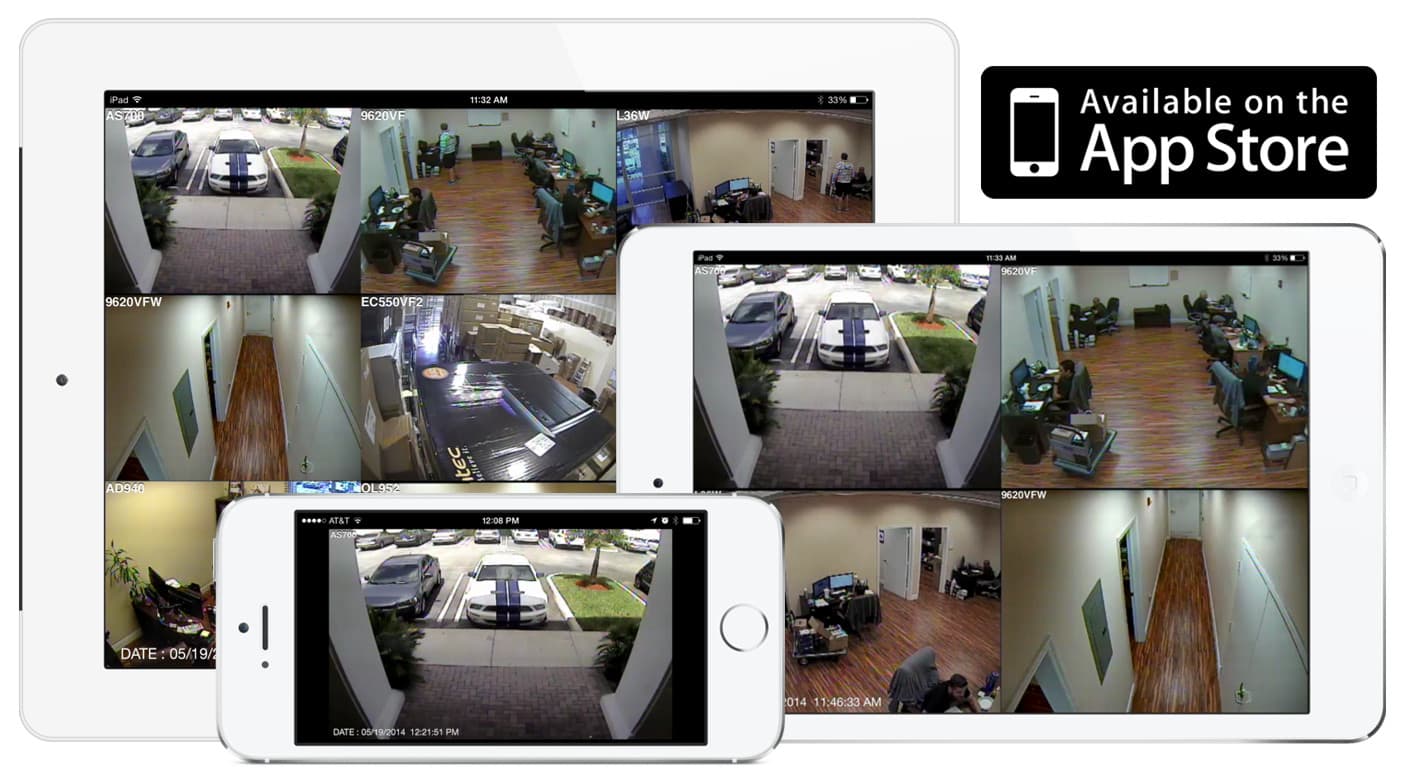
iPhone / iPad Compatible
|
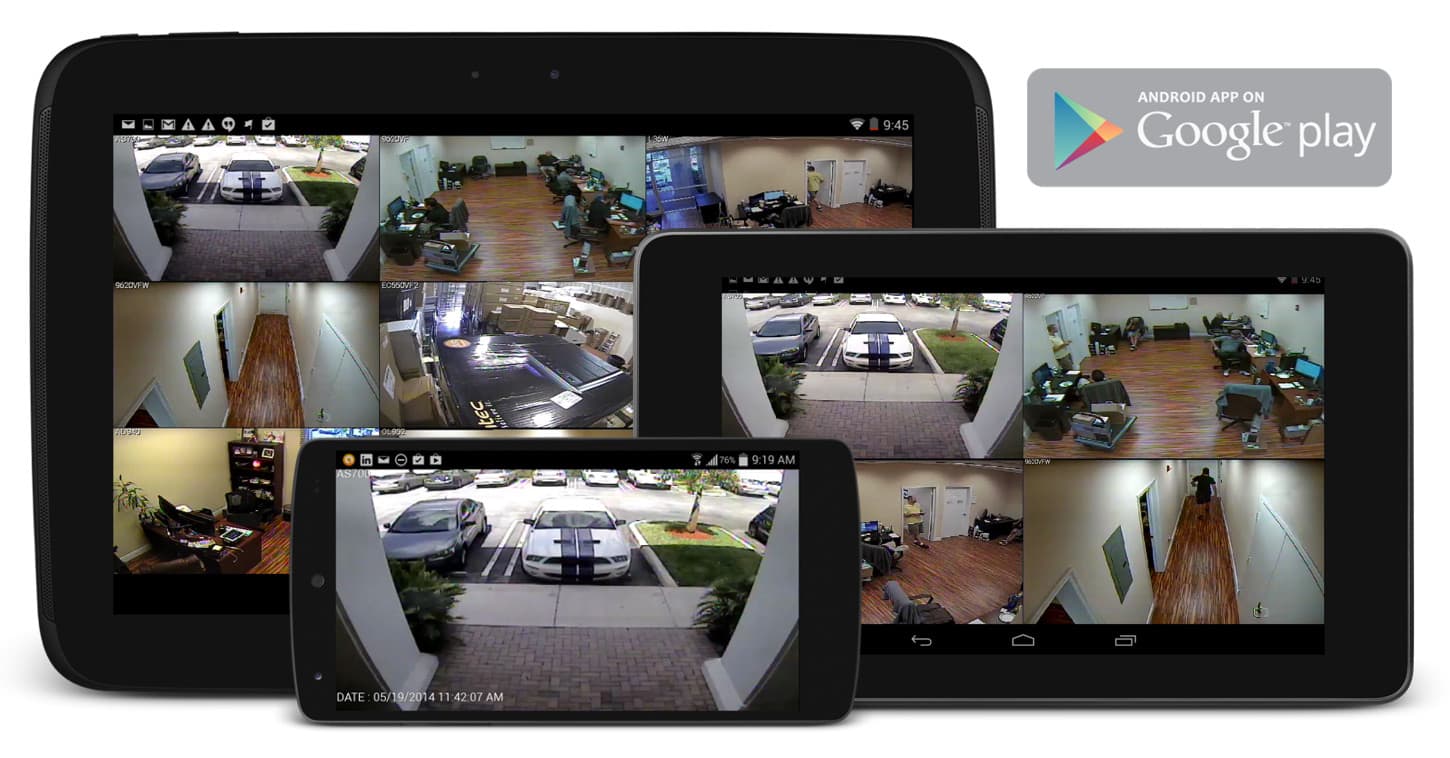
Android Compatible
|
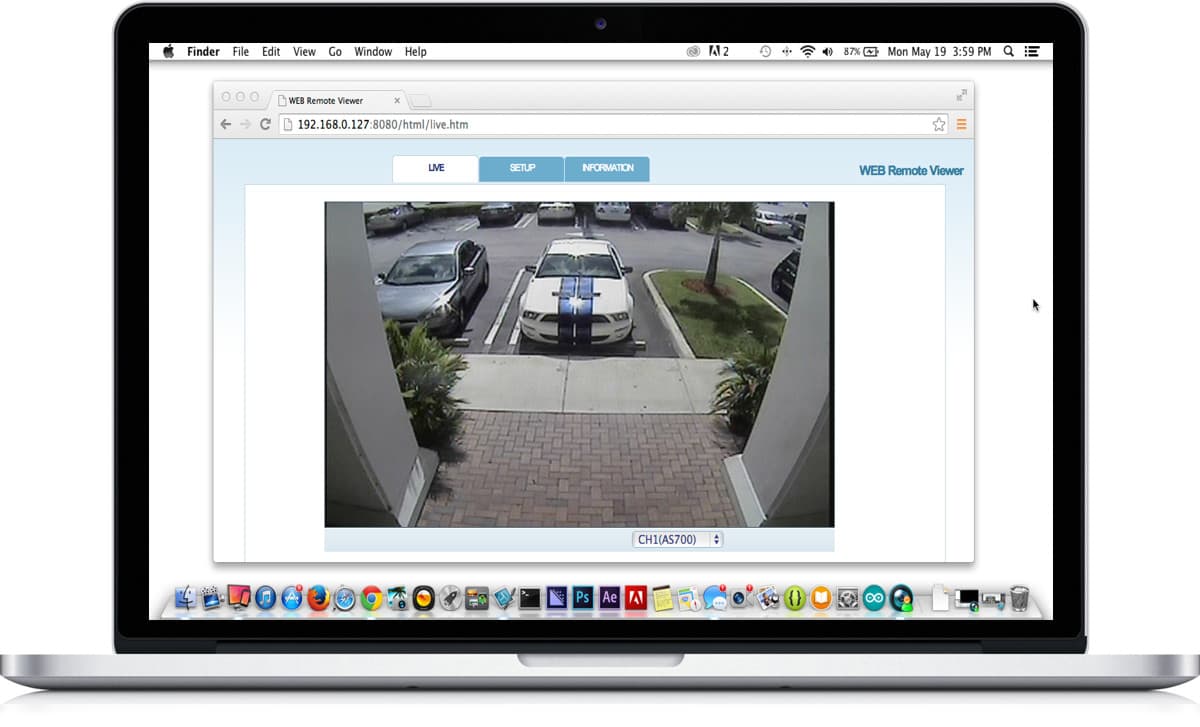
Mac Compatible
|
Click here to
learn more about the latest iDVR-PRO CCTV DVRs.
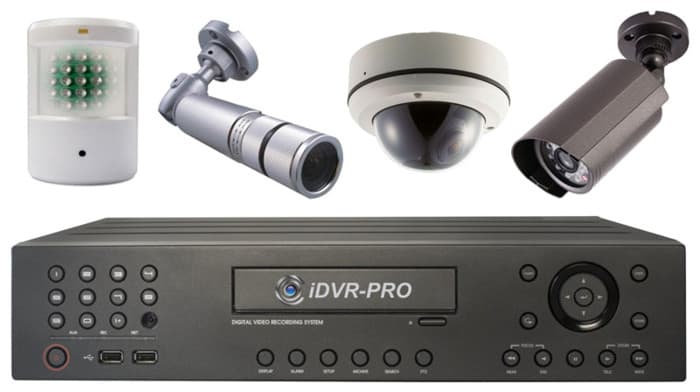
Works with Analog CCTV and HD Security Cameras

Hybrid iDVR-PROs work with the following security camera types and resolutions.
- AHD Cameras (720p and 1080p resolution models supported)
- TVI Cameras (720p and 1080p resolution models supported)
- Analog CCTV Cameras (all analog resolution supported including CIF, D1, 960H)
Request a Demo
If you do not currently have an iDVR-PRO and would like to log in to the demo unit at our office, please request a demo login below. You will be able to log in from iPhone, iPad, and Android mobile devices. You can also log in from Macintosh and Windows computers. Please
click here to request a demo login.

Complete CCTV Systems
Did you know? CCTV Camera Pros can provide a complete surveillance system quote that includes any iDVR-PRO model with cameras, cables, connectors, power supplies, and monitors? We can even mix and match SD and HD security cameras because the latest iDVR-PROs are hybrid. They work with CCTV, AHD, and HD-TVI type cameras. As you have probably already seen on our website, we have 2, 4, 8, and 16 camera surveillance systems in pre-made packages. However, it is not possible for us to package up every combination and quantity of all the different camera models that we carry. So, we can also provide you with a custom quote with as many cameras as you need and a mix of any combination of camera model(s) based on your project requirements.

About the Author

This article was written by
Mike Haldas, co-founder and managing partner of CCTV Camera Pros. If you have any questions about iPhone security camera app for iDVR, please email me at [email protected].
|


