|
IPC Tester Camera Direct Connection Using DHCP Server
The MON-IP7 and MON-7HD are able to connect to any ONVIF compliant IP camera on the network they are connected to, but they are also able to test cameras connected directly to the monitor using the built-in DHCP server. The instructions below explain how this is done.
You can find the MON-IP7 and MON-7HD HD CCTV / IP camera tester here. They are basically the same produect except in addition to IP camera and analog CCTV cameras, the MON-7HD also supports HD security cameras (AHD, HD-TVI, and HD-CVI cameras). All other functions are identical.
How to use the DHCP server to view cameras
1. If the camera you are working with is POE compliant you will want to run the "Power Out" tool. This will enable the POE on the LAN port of the IPC tester. Once enabled you will see "48V ON" at the top of the screen. (Shown Below)
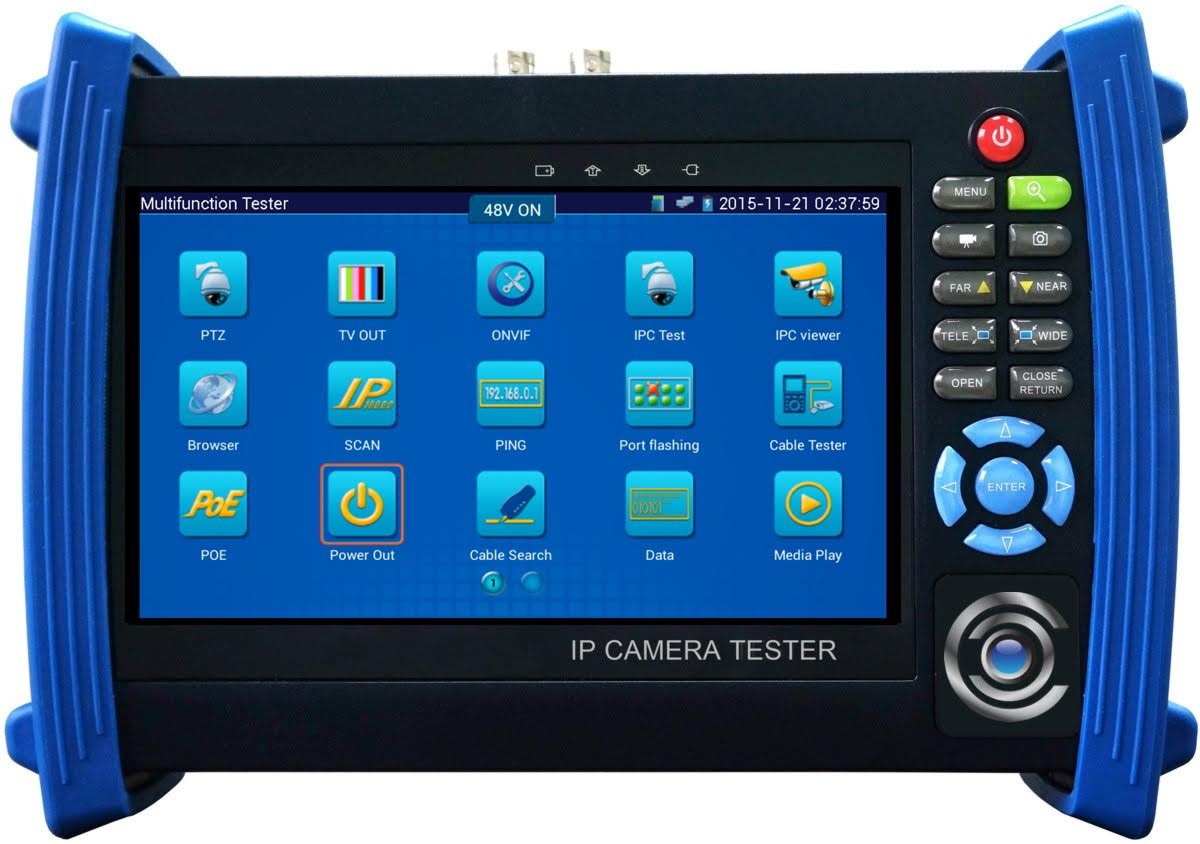
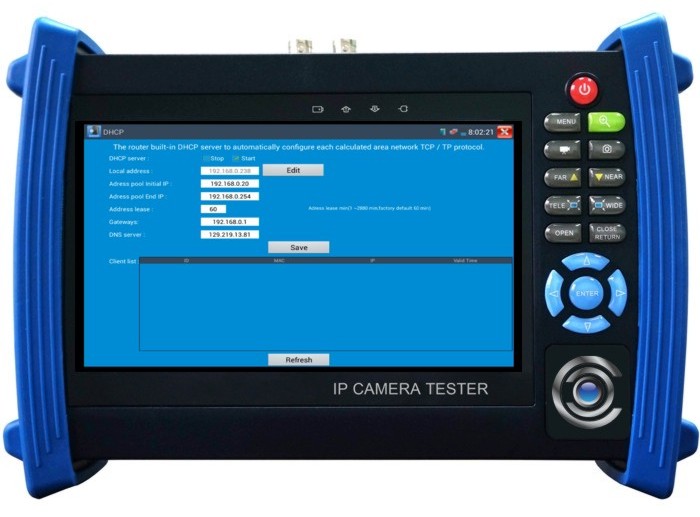
2. Now go to the "App Tool" folder and locate the "DHCP" app. Check the " Start" box and "Save" button. Wait a minute and click the refresh button. You should now see the camera connected to the monitor in the client list.

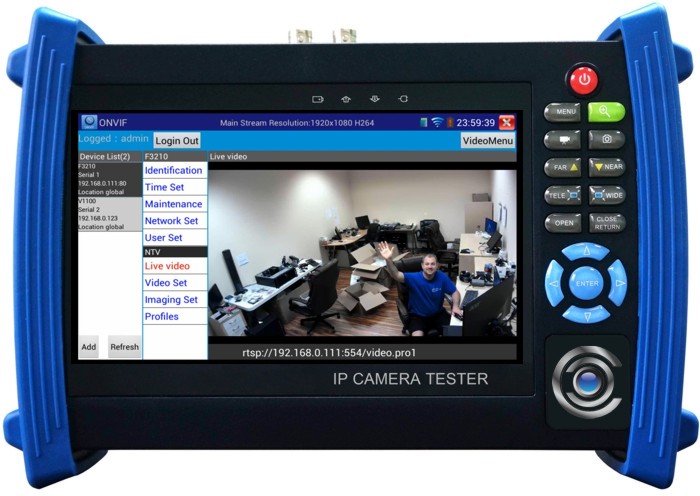
3. Now that the camera is obtaining an IP address go to the ONVIF tool > Type in the username and password of the camera top left of the screen > click log in.
4. You should see the camera show up under the "Client List" on the left hand of the screen. Simply click the camera and select the Live Video option.
About the Author

These setup instructions were written by Mike Haldas, co-founder and managing partner of CCTV Camera Pros. If you have any questions about them or anything related to video surveillance systems and equipment, please email me at [email protected].
|


