|
 Nuuo Main Console Recording Setup Nuuo Main Console Recording Setup
The instructions below explain how to set up the various recording modes of the Nuuo Main Console DVR / NVR surveillance system. Nuuo Main Console comes pre-configured to record around the clock but can be configured to record based on a schedule as well as motion detection.
Continuous Recording
By default, the Nuuo Main Console comes pre-configured to record continuously around the clock. Simply select Start Monitor All under the Start Menu to initiate it. (Shown Below) 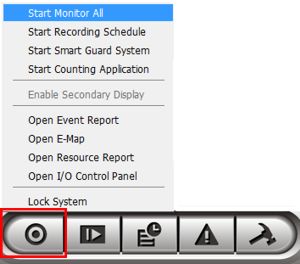
Schedule Recording
1. Launch the Nuuo Main Console. Then enter the Username and Password.
2. Now on the Nuuo Main Console home screen, select the Schedule Configuration icon. (Shown Below) 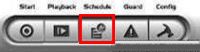
3. Select a camera from the left column. Then left click and drag along the timeline to define the desired schedule recording time. (Shown Below) 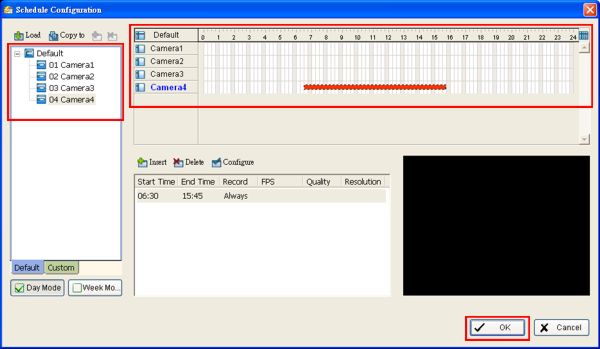
3.1. Another way of doing it is to select a camera from the left column and select Configure. Then select the desired time by using the drop-down boxes in the configure menu. Click OK to save the settings. (Shown Below) 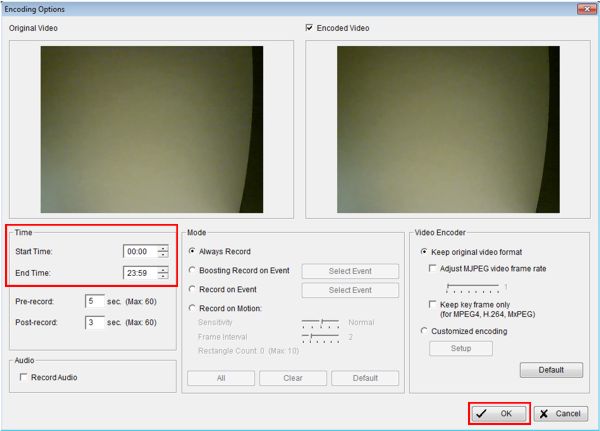
4. Click OK to save the settings and return to the main screen once you have configured all of the desired cameras.
5. Now click the Start Menu icon and click Start Recording Schedule to begin recording based on your pre-configured schedule. (Shown Below) 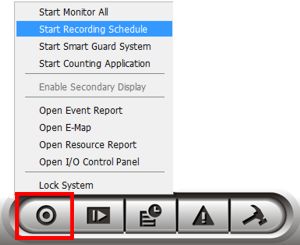
Motion Recording 1. On the main screen select the Schedule Configuration icon. (Shown Below) 
2. Now select a camera from the left column and click Configure. (Shown Below) 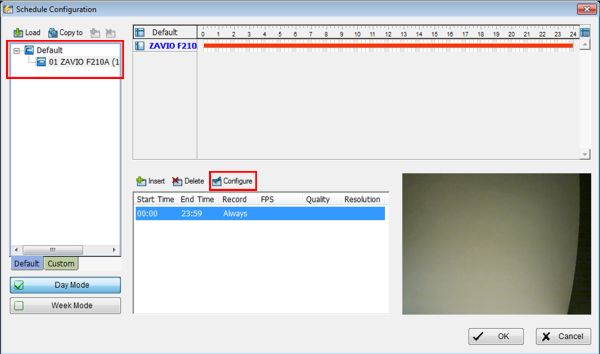
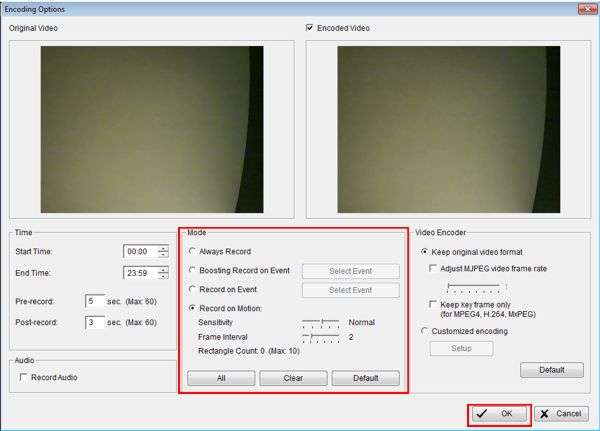
3. Under the Mode section, select Record on Motion. Then select your desired Sensitivity and Frame Interval. Now on the left video square, left click and drag to define which areas you would like motion to be detected (There can be up to 10 fields per camera). Click OK once completed.
4. Your camera will now record only when motion is detected within your preset schedule.
|


