Geovision WebCam Server PTZ Camera Setup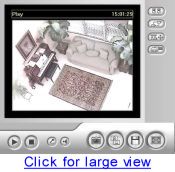 The Geovision Webcam Server can be used to view and control PTZ security cameras that are connected to a Geovision system over the Internet or a network (LAN) connection using an Internet Explorer web browser. The following setup instructions assume the following: The Geovision Webcam Server can be used to view and control PTZ security cameras that are connected to a Geovision system over the Internet or a network (LAN) connection using an Internet Explorer web browser. The following setup instructions assume the following:
- You have already installed your Geovision DVR card into your computer.
- The Geovision software (Multicam Surveillance System) is already installed on the computer where your card is installed.
- The Geovision DVR is connected to a router/switch that is connected to the Internet.
- The Geovision DVR may be connected to an Internet connection that has a Dynamic IP address, such as cable or DSL. If you are unsure about this, please contact your Internet provider first. If your Geovision computer is connected to a Dynamic IP address, start by installing the Geovision Dynamic DNS Service. You can install and start the DDNS Service by following the instructions in Chapter 11, page 277 of the Geovision manual.
- You have already setup Geovision WebCam Server.
Configure Geovision for Remote PTZ ControlThere are a few settings that must be set on your main Geovision computer. Please start your Geovision surveillance systems, then follow these instructions.
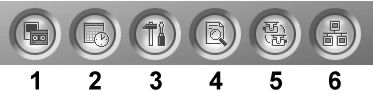
- Click on the configure button (#3 below) and select Camera Mapping PTZ Dome from the menu.
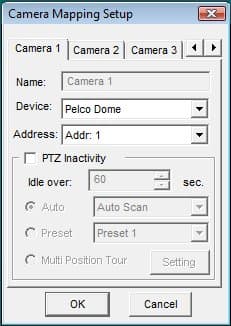
- On the Camera Mapping Setup page, select the camera number tab that your PTZ camera is connected to. In this example, we will assume that you have one of our PTZ security cameras connected to camera channel 1 of your Geovision system and that your PTZ camera is set to address 1. Select Pelco Dome for the device and Addr: 1 for Address, then click OK.
- Click on the Network menu button (#6 from above) and select WebCam server from the menu. If your Geovision webcam server was already enabled, you may have to select this twice.
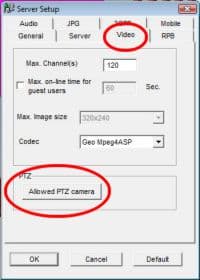
- On the Server Setup screen select the video tab then click on the Allowed PTZ Camera button.
- A Select Camera window will open. Click all of the PTZ cameras that you want to enable, then click OK. Click OK again.
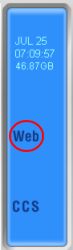
- After you click ok, you can confirm that the GeoHTTP webcam server has started by looking at the blue box in the upper right-hand corner of the Geovision Multicam server screen. It should say "Web" as seen below.
Your Geovision system is now ready to be accessed remotely to control your PTZ camera.
Geovision Remote PTZ ControlFor these steps, you will access your Geovision system remotely using Internet Explorer. We assume that you have already connected to your system remotely and you are now just setting up your PTZ controls. If you need instructions to access remotely for the first time, please refer to these instructions first: Geovision webcam server setup.
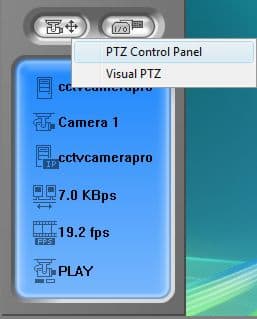
- Activate the PTZ controls on your webcam viewer by clicking on the PTZ control button and selecting PTZ Control Panel from the menu.
- The PTZ control panel should pop-up as seen below. Switch the power knob to On.
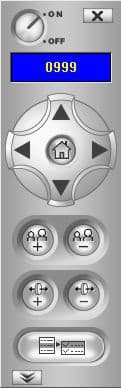
You will now be able to control your PTZ camera remotely using Geovision webcam.
|
|
|


