|
Geovision Center V2 Setup

The Geovision Center V2 allows the user to manage up to 5 Geovision Surveillance DVRs (160 channels) on the standard version and up to 500 (800 channels) on the paid pro version. With the Geovision Center V2, the user is able to view the live images, have remote I/O device control, remote PTZ control and much more for all of the GV Systems connected. This is especially useful with stations monitored by guards because it allows them to react to the situation the moment it happens. Please follow the instructions below to setup the Geovision Center V2 software.
Center V2 Setup - Subscriber Side
- First, forward ports 5547 and 5551 in your router.
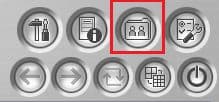
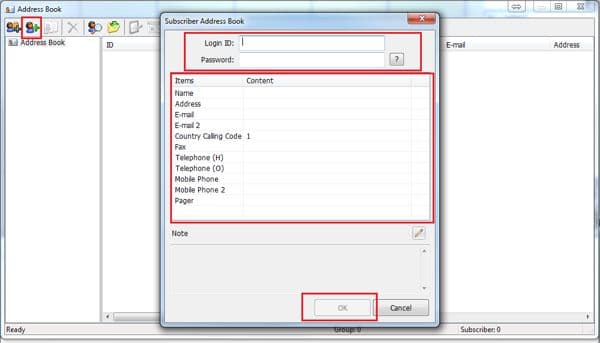
- Now create accounts for the different subscribing locations / NVRs. This is done by clicking the Account icon, followed by the Add Subscriber icon. (Shown Below)
- Then create a User ID and Password. The Name, Address, Email and etc are optional. (Shown Below)
GeoVision Main System Setup / NVR / DVR Side
- First, forward ports 5545, 5546, 5548 & 5549 in your router and make sure that they are all open.
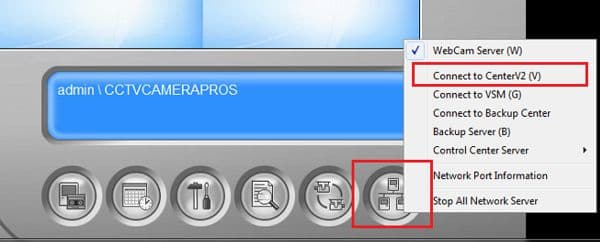
- Then click the Network button in the Geovision Main System followed by Connect to Center V2. (Shown Below)
- Now press the "+" button in the lower left corner. (Shown Below)
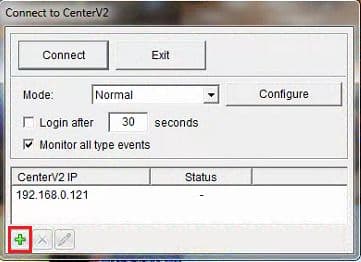
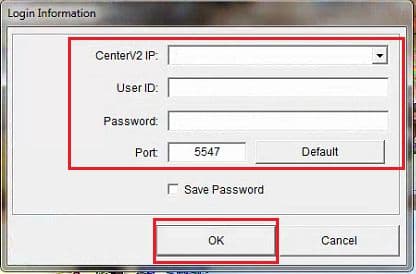
- Enter the CenterV2 IP (IP address of the Center V2 Site), User ID (The User ID created for the subscriber), Password (Password created for the subscriber) and Port 5547. Click OK once completed. (Shown Below)
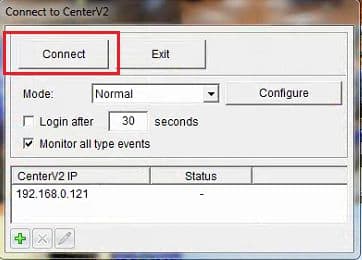
- Then press the Connect button to complete the setup. (Shown Below)
|


