This video demonstrates the how to setup alarm inputs and alarm relay outputs on iDVR-PRO CCTV DVRs. Alarm sensor devices PIR motion detectors, magnetic door sensors, infrared trip wires can be connected to the DVR alarm input ports. Output devices such as audio sirens, alarm buzzers, sirens, and strobe lights can be connected to the alarm relay output ports.
In this video demo, we will configure a magnetic door sensor to trigger a strobe light when the door is opened. The alarm event will also trigger the following actions on the DVR: video recording, DVR audio buzzer, video pop-up, and on screen display alert of the alarm.
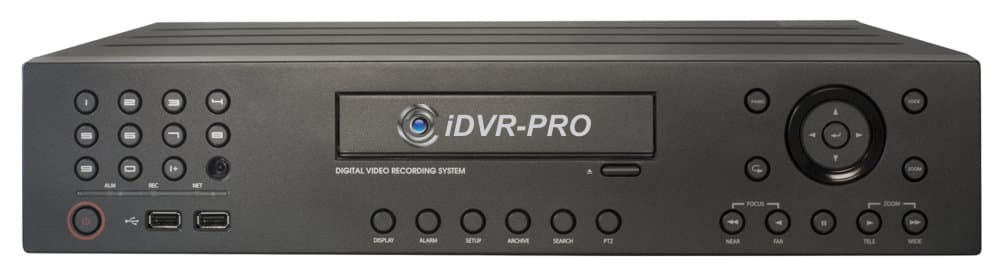
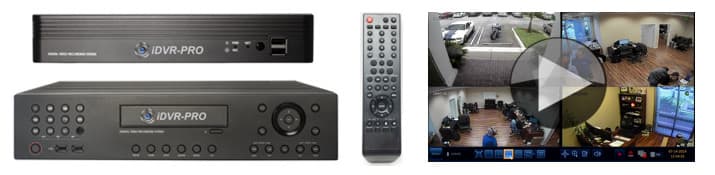
This video will demonstrate how to connect a magnetic door sensor to the alarm input of a CCTV DVR, we'll also wire an alarm strobe light to the relay output of the DVR and we'll configure the DVR software to activate the alarm light when a door is opened. We're using an IDVR-PRO Surveillance DVR for this demonstration.
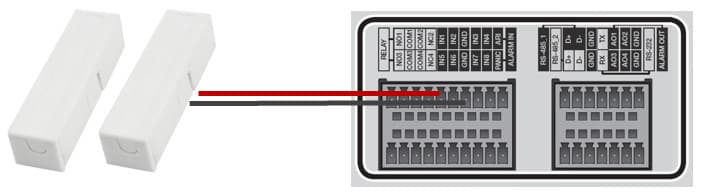
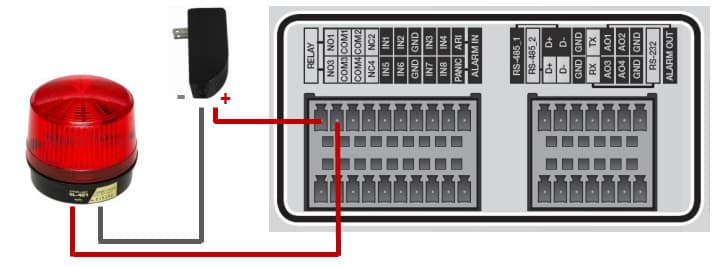
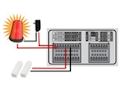
Here's the alarm test panel that we use at CCTV Camera Pros. The magnet door sensor is already wired to the alarm input port number one on the DVR and the strobe light and its power supply are connected in line with the DVR's relay output port number one. This is how those devices are connected to the alarm ports on the back of the DVR.
The two wires from the door sensor simply connect to the alarm in port and a common ground port. The strobe light is not quite as simple. This device has its own power supply, in this case a 12 volt DC power transformer, so a relay alarm output port is used to connect in line with the light and the power supply.
The relay will be set to the normally open position so that power cannot flow through the circuit. When an alarm event is triggered, the DVR will close the circuit and allow power to pass through which causes the strobe light to turn on.
Next, we're going to configure the software on the DVR. First thing I'm going to do is select the menu button and select system setup. From the system menu I'm going to select event and then alarm sensor. On the alarm sensor screen you can see all the alarm inputs here and you can create name for each one, you can set the operation to normally open or normally closed, in this case it's going to be normally closed because it's a door sensor. I can link it to one or more cameras and I can also link it to one or more alarm outputs. I'm also going to set it to sound a buzzer, enable video popup and enable the on-screen display to popup.
Next, I go to the alarm out section. In the alarm out screen, again, I can give a name to each of the alarm outputs, in this case I'm going to name it Lab Strobe. I'm going to set the operation to this one normally open so the circuit is open and the light is not on by default. You can set a duration for how long the relay output is engaged and then you can click this test button to perform a test to engage the relay and make sure that your strobe light is working correctly.
The last thing I want to do is I want to set the DVR to record when the alarm is engaged. I'm going to click menu and go to record setup and on the record screen I'm going to set it to intensive alarm recording which basically means that the DVR is going to record continuously but then when an alarm goes off it'll bookmark that event. You can change the frame rate and the resolution of the DVR records at when the alarm is engaged. That's optional.
Now it's time to test the alarm input and the alarm output and the DVR settings. I'm going to start this other camera to watch the alarm panel and then when I open up the door a few things are going to happen. One, it'll go to camera two because that's what the alarms associated with, it pops up the on-screen display warning and it's recording in alarm mode now and the strobe light was going off. The recording in alarm mode, you can tell by that little a in the upper right hand side and it'll switch back to c for continuous recording after the alarm event is done. There you go it switches back to c, now it's recording continuously again. That was a very successful test.
To learn more about how to set up alarm inputs and outputs on iDVR-PRO video surveillance DVRs, please visit www.cctvcamerapros.com/dvr-alarm. Thank you for watching.
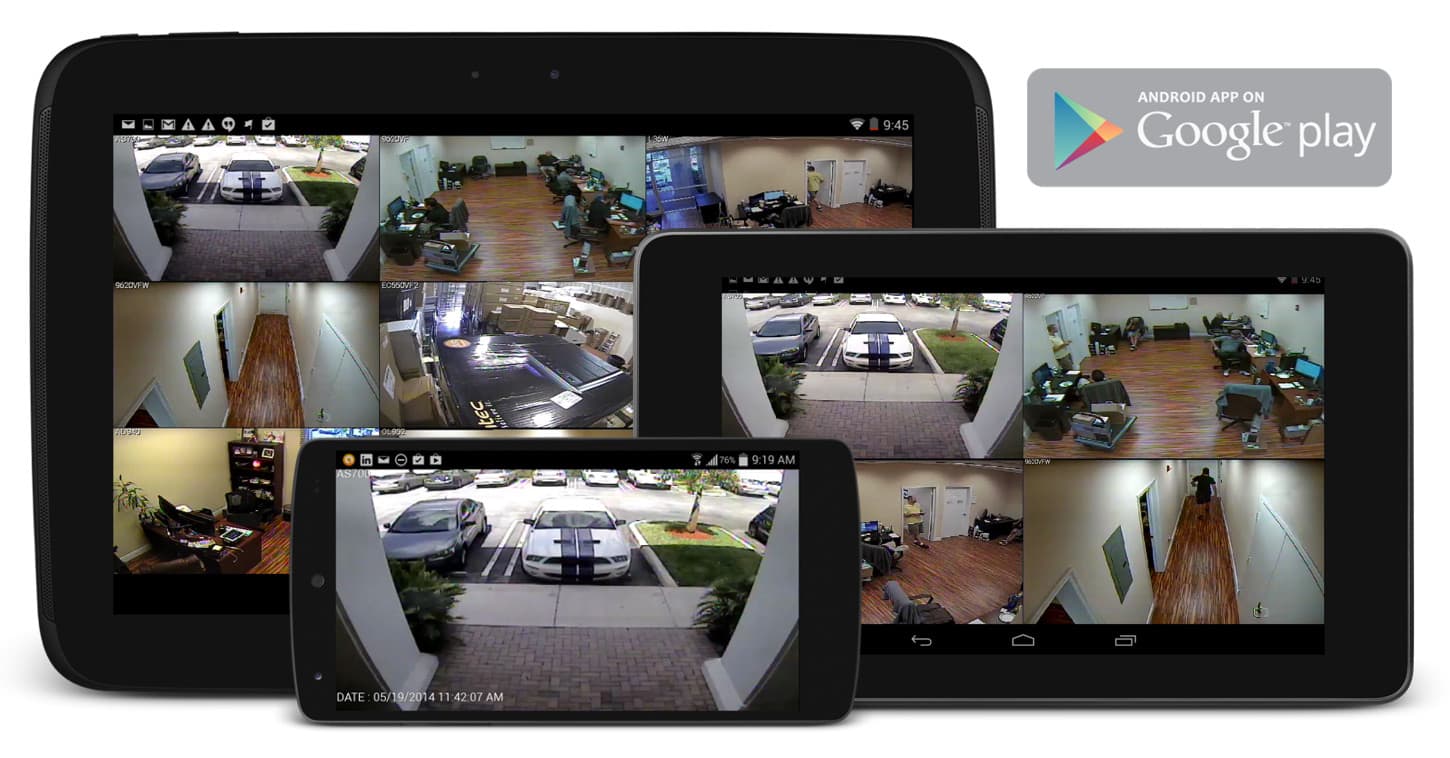
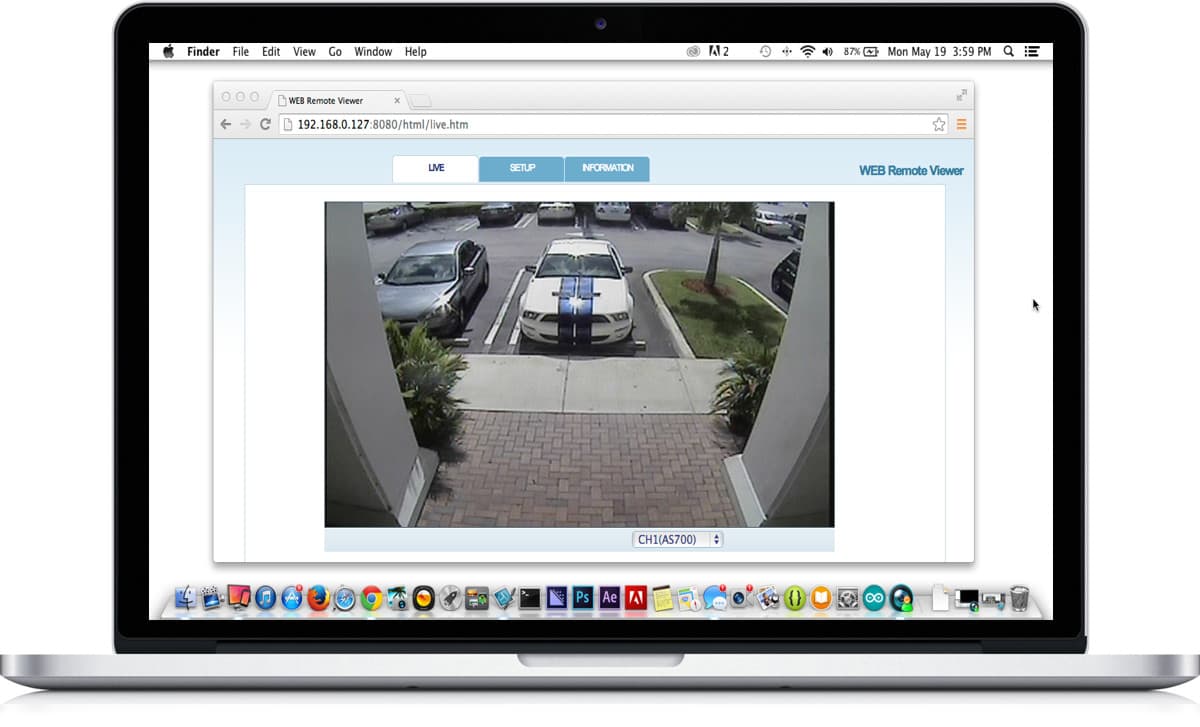
If you do not currently have an iDVR-PRO and would like to log in to the demo unit at our office, please request a demo login below. You will be able to login from iPhone, iPad, and Android mobile devices. You can also login from Macintosh and Windows computers. Please
click here to request a demo login.
This video was created by and this page is maintained by
Mike Haldas, co-founder and managing partner of CCTV Camera Pros. If you have questions about setting up alarm inputs and outputs, please email me at mike@cctvcamerapros.net.
Be First to know of our deals and promotions. Sign up for our mailing list: